A couple of other similar examples might already exist elsewhere on the internet, but information is fairly sparse when it comes to Active Admin specifically. Like we already stated, we’ll be making use of Google Authenticator, so you’ll have to install the appropriate Ruby gem by adding google-authenticator-rails to your project’s Gemfile. Let’s get started!
First of all, let’s talk a little bit about the very concept of two factor authentication. You might have already come across two-factor authentication (2FA) elsewhere under a different name: multi-factor authentication (MFA).
2FA or MFA is mostly used on login screens as a way of verifying and double-checking a user’s identity for additional security.
Rather than depending solely on a user’s email address and their password, 2FA attempts to decrease the risk of imposters acquiring access to personal data by properly establishing a user’s identity first.
This is done by using an additional piece of information to verify the identity, e.g., in this case, a code that only the person knows. Nowadays, there’s more and more cases where hackers have easy access to private data, and this is where 2FA comes into play.
Because there are lots of ways to perform 2FA, there are also lots of different implementations, some use email, others use SMS, etc. One of the implementations is Google Authenticator, and that’s what we’ll be using in our project.
Before delving deeper into this topic, I would like to tell you more about what you’ll be getting with this gem so that it’s easier for you to follow the setup steps. First, you’ll add the gem to your project. After that, you will need to set up the environment for the gem to work as it should.
This is done by adding two columns to the model that you’ll be using for implementing Google Authenticator (in this case, ‘AdminUser’). The first column is google_secret. This is where we’ll be storing the encrypted code (which can be reset) used to connect the model (in this case, AdminUser) with Google Authenticator. The code stored in this column will enable our AdminUser to register via the Google Authenticator mobile app, and it can also be used as a QR code so the user can scan it with their smartphone.
Next up is the column called mfa_secret. This is where we’ll be storing a 6-digit code each time the user tries to log into their account. The user cannot get this code until they register with a Google Secret Code on the mobile application. Every time the user logs out, the mfa_secret is reset to nil. This isn’t the only way to do it, though, as you can change the behavior of the Google Authenticator gem. Let’s move on.
After you’ve added these two columns to your model, you’ll also add ‘acts_as_google_authenticated’ to the same model (the one you want to be checked against Google Authenticator). This lets Google Authenticator hook into the model by injecting all the additional functionality into it, so 2FA can work as intended.
The next step is to add a session object. We’ll call it “AdminUserMfaSession”. We need a session object because we’re going to temporarily store the existing model (AdminUser) with their ‘mfa_secret’ (the 6-digit code generated by Google Authenticator) after logging in.
This will be done only if the mfa_secret is correct. To be able to check whether the code they entered is valid, we’ll also need to add some functionality inside a controller. We’ll create a controller called ‘AdminUserMfaSessionController’. Its only assignment is to check whether the entered ‘mfa_secret’ is correct. If the entered mfa_secret is correct, the controller will store the AdminUser and their mfa_secret inside the session object we previously created (‘AdminUserMfaSession’).
If the ‘mfa_secret’ is not correct, then we’ll be returning a warning message to the user that the information they’ve entered is invalid. To wrap this up and make it all work, we’ll also have to add a method that’s checked every time AdminUser makes a change of routes on the site and/or refreshes the current route. We can do this by adding a ‘before’ filter to config/initializers/active_admin.rb(we could also add this before filter in the Application controller but now it is only oriented on Active Admin).
The method will be called on each request under Active Admin, and it’ll check if the data stored in our session object (‘AdminUsermfaSesstion’) is valid and whether they’re allowed to access the site. They’ll only be allowed access if ‘mfa_secret’ is correct. If the ‘mfa_secret’ is not correct, then the before filter will redirect the user (in our case, AdminUser) to a controller view where they can input a valid ‘mfa_secret’.
“That’s the general overview of what the gem does, what its workflow is, and what the process will appear like from a user’s perspective. Let’s head to the actual implementation! (I’ll provide code snippets to help you along).”
Add 'google-authenticator-rails' gem to your project.
The first way to do so is by adding the following line:
gem 'google-authenticator-rails'to your Gemfile and save. Then go to the terminal and run
bundle installThe second way of adding our gem is by running the following directly from your terminal.
The command to execute:
install google-authenticator-railsAdd required columns to your model
Now we need to add the columns used for storing the ‘google_secret’ and ‘mfa_secret’ to our model.
If you need help generating a migration, follow these steps:
- Go to your Terminal and head to the root of your project
- Run ‘rails generate migration AddGoogleSecretToAdminUser’
- Find generated migration and type in the following:
class AddGoogleSecretToAdminUser < ActiveRecord::Migration
  def change
    add_column :admin_users, :google_secret, :string
    add_column :admin_users, :mfa_secret, :string
  end
end- Save your changes and go back to the terminal
- Run ‘rake db:migrate’
Connect Google authenticator with your model (AdminUser)
To achieve this you’ll be adding ‘acts_as_google_authenticated’ to your model (AdminUser). I encountered some problems during this step. There are a couple of settings you will need to set up. We’ll have to encrypt the Google token saved in our ‘google_secret’.
As the documentation of this gem is not that good, if you encounter this problem for the first time, do not fret!
So, looking up the readme file for this gem I found out that you need to add ‘encrypt_secrets => true’. That setting will encrypt ‘google_secret’ inside of the database.
This is what it’ll look like:
class AdminUser < ActiveRecord::Base
 acts_as_google_authenticated :lookup_token => :mfa_secret, :encrypt_secrets => true
end
Create session object to be able to authenticate
Now you need to create an empty model to store AdminUser data for authentication inside of it.
Go to app/models, add a file named admin_user_mfa_session.rb
#app/models/admin_user_mfa_session.rb
class AdminUserMfaSession <  GoogleAuthenticatorRails::Session::Base
end
Create the controller
We’re now at one of the most important steps in this entire process. We’ll need to create a controller to check if the 6 digit code we entered and stored in our ‘mfa_secret’ column is indeed correct. Depending on that, the controller will either save the correct session data into our session object (AdminUserMfaSession) or alternatively prevent the user from accessing the resources they do not have access to until they’ve established their identity.
Our controller will have two methods, these are "new" and "create". The "new" method is the one that'll load your view after you've finished authorization with email (username) and password. Inside of this view, the user will need to input their 6 digit code which was created by Google Authenticator.The “create” method is the actual backbone of it all and is where we’ll check if the code is valid. If it’s not valid, the view will redirect the user and prevent access until they verify their identity with a correct code. During that time, the user (in our case, AdminUser) will not have access to other parts of the site - only after entering a valid code will they be able to continue accessing other resources.
Here is the code we ended up with:
class AdminUserMfaSessionController < ApplicationController
  def new
    @skip_header_and_footer = true
    @current_admin_user = current_admin_user
    current_admin_user.google_secret_value if current_admin_user.set_google_secret
  end

   def create
    @skip_header_and_footer = true
    admin_user = current_admin_user
    admin_user.salt = params[:create_admin_user_mfa_session_path][:mfa_code]
    admin_user.save!
     if admin_user.google_authentic?(params[:create_admin_user_mfa_session_path][:mfa_code])
      AdminUserMfaSession.create(admin_user)
      redirect_to '/admin'
    else
      flash[:error] = "Wrong code"
      render :new
    end
  end
 end
We’ll fill in the gaps later on, if anything’s unclear in the above code snippet. All will be explained at the end, after the environment is fully set up.
Let’s now move on to modifying our ApplicationController, our next step in integrating Google Authenticator.
Setting up before filter in active admin
We’ll need to add a new “before” filter to config/initializers/active_admin.rb. The filter will be run on each request under active admin. Like we already stated, the user’s access will be dependent on the 6 digit code we implemented earlier.
The user (AdminUser) will enter the code, a new AdminUserMfaSession object will be created with the AdminUser’s data and if the session exists and is valid - before filter will be skipped. If no AdminUserMfaSession exists, the AdminUser will be redirected to the view in which they can enter the 6 digit code. Another thing worth pointing out - when the user logs out, we have to destroy the data inside of AdminUserMfaSession.
The ‘mfa_secret’ column in AdminUser will also need to be set to nil. Reason being that our implementation requires the user to enter the 6 digit code on each login attempt. If your case differs, you might want to change this.
Now, here is our code and it should be placed inside config/initializers/active_admin.rb
#config/initializers/active_admin.rb
ActiveAdmin.setup do |config|
config.before_filter do
    return if Rails.env.test? || Rails.env.development?
    if !(admin_user_mfa_session = AdminUserMfaSession.find) && (admin_user_mfa_session ? admin_user_mfa_session.record == current_admin_user : !admin_user_mfa_session)
      redirect_to new_admin_user_mfa_session_path
    end if current_admin_user && "/admin/mfa" != request.path
    if "/admin/logout" == request.path
      current_admin_user.salt = nil
      current_admin_user.save!
      AdminUserMfaSession.destroy
    end
  end
end
Here’s an explanation of some code that might be confusing.
Firstly,
end if current_admin_user && ......We don’t want this method to check Google Authentication if there is no AdminUser logged in. before should be checked and a 6-digit key should be requested only after AdminUser has tried to login with their email and password so Google Authenticator could connect the account ( logic! :’) ).
Secondly,
end if .... && "/admin/mfa" != request.pathThis part of the code solved my problem… I had issues with multiple requests and my path kept changing multiple times during request. Which caused an error. To solve that error I had to check for the user’s current path. If the current path was “admin/mfa” - don’t redirect, in short. Maybe this will be of help to you, so I decided to keep it in this tutorial just in case you encounter a similar issue.
Next I will go on about the actual view for inputting the code generated by our Google Authenticator as well as the routes we have to add for the gem to work properly. I had some issues with this part while implementing this and after fixing them I decided to write it up - they’re the main reason why you’re reading this!
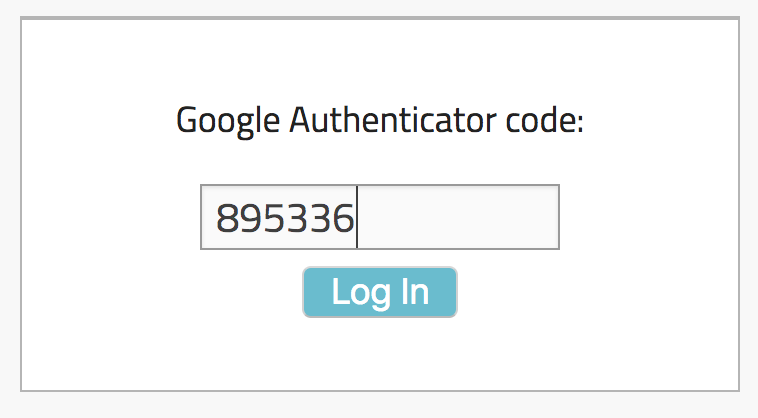
Let’s talk about the view. Like I said, after the AdminUser fills in their correct credentials (email and password), they are not yet able to access the site and the data (in our case, ActiveAdmin). They still need to go through a second confirmation step to verify their identity. For that reason, the AdminUser will be redirected to the view where they are asked to enter a 6 digit code from Google Authenticator.
Here is the relevant code:
<div class="mfa-container">
	<%= form_for :create_admin_user_mfa_session_path do |f| %>
	<p>Google Authenticator code:</p>
	<%= f.text_field :mfa_code, :maxlength => 6%> <%= f.submit "Log In" %> <%end%>
</div>
You should place it depending on your own controller and method naming scheme - we’ll be putting our view in the following place:
app/views/admin_user_mfa_session/new.html.erb
So, as you can see, when the AdminUser tries to login, they get redirected by ApplicationController to “new_admin_user_mfa_session_path”. This path leads to “admin_user_mfa_session_controller” and more specifically, its method “new”.
As you can see our view is placed inside of app/views/admin_user_mfa_session/new.html.erb which is the reason why the naming scheme is such. Your mileage may vary. Under the view “new.html.erb ” we have an input field for entering the 6 digit code generated by Google Authenticator on your mobile device.
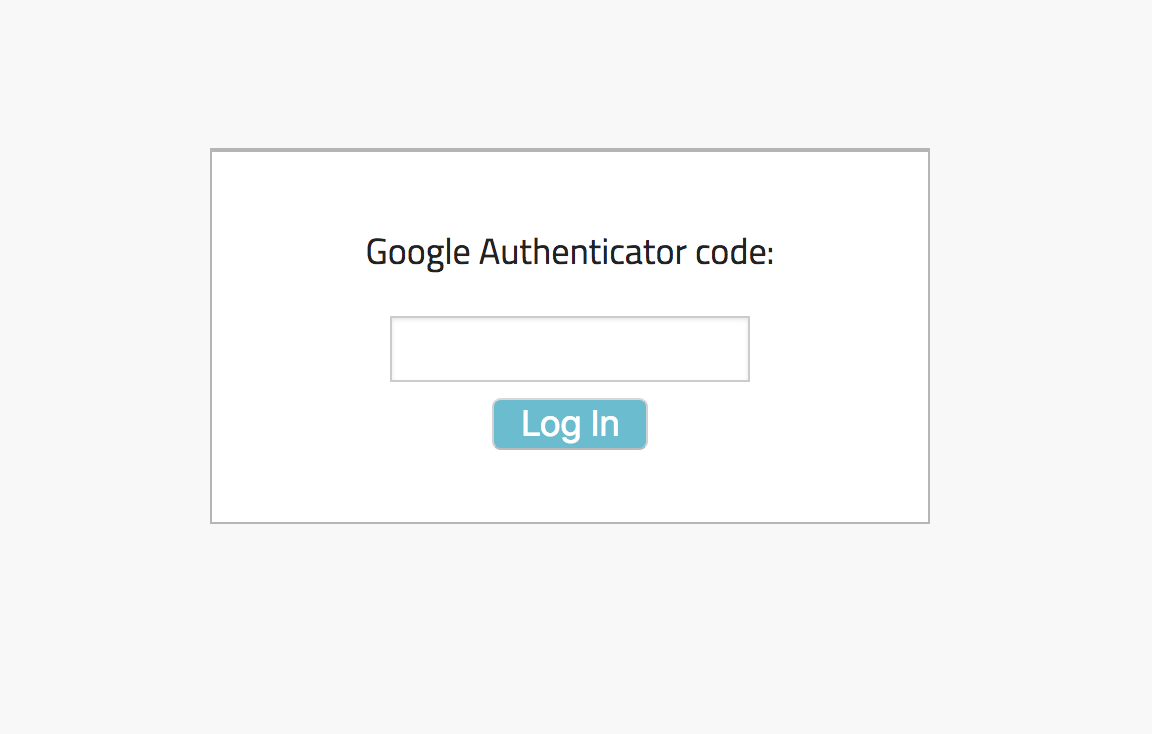
After the AdminUser enters their code, they need to click on the “Log In” button. On click, “:mfa_code” containing the 6 digit code entered by the AdminUser gets sent through to the “create_admin_user_mfa_session_path” path which ends up in the “create” method inside of our “admin_user_mfa_session_controller” file.
One more tip about “google_secret”. You should send the “google_secret” at least once to AdminUser via email so only they can see it. You can do so either by sending a QR code or a key. The method for creating the QR code is “current_admin_user.google_qr_uri” and for the key it is “current_admin_user.google_secret_value”.
Using Google Authenticator
Now I’d like to show you how Google Authenticator actually works in practice.
1.) The AdminUser must have a “google_secret” value set in the database. Reason being that “google_secret” contains the encrypted key connecting the AdminUser to their Google Authenticator. This key allows the AdminUser to connect their profile with the mobile Google Authenticator application. This code can be displayed either as a regular key or as a scannable QR code.
2.) Now after our AdminUser has a “google_secret” created inside the database, they need to connect their mobile application with their account so it can serve as a verification of identity in the future.
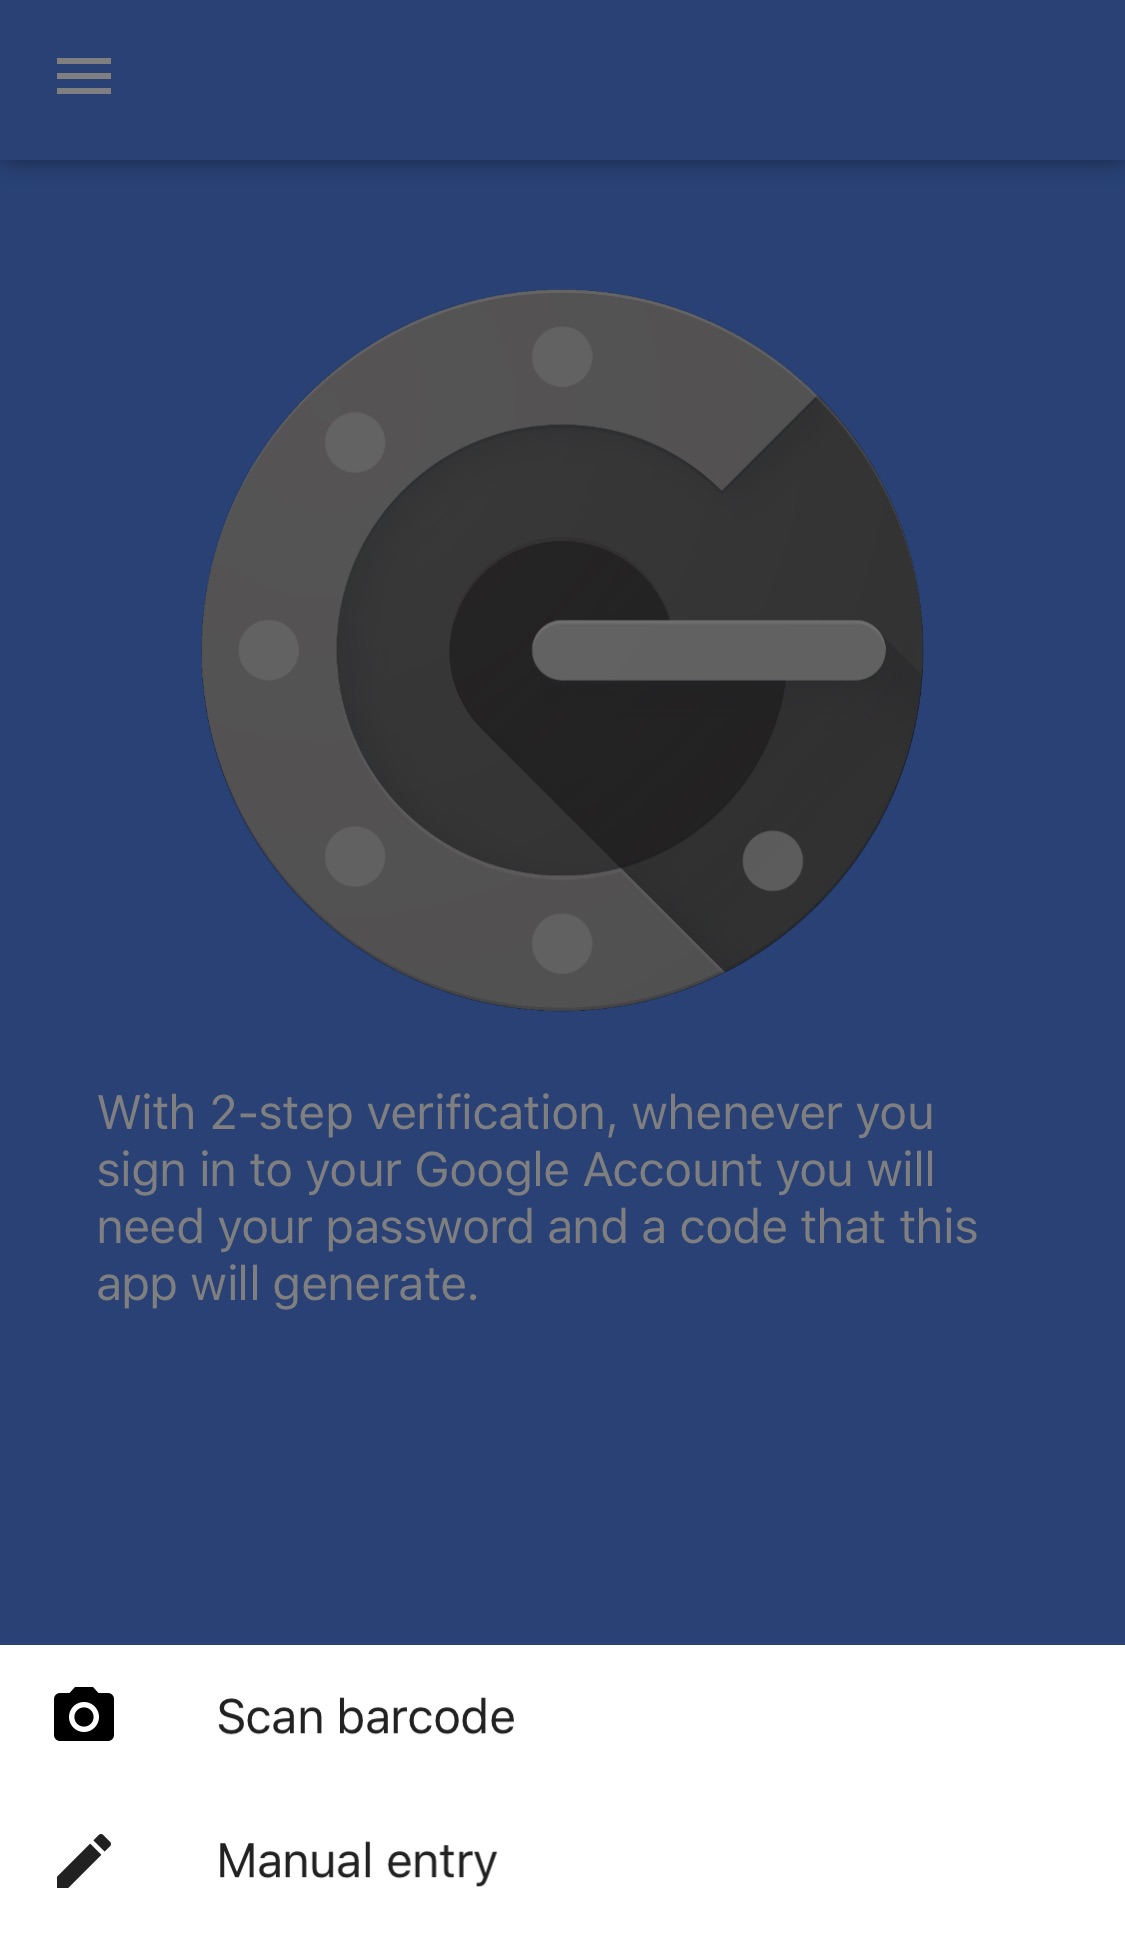
They can do so by either scanning the QR code (“current_admin_user.google_qr_uri ”) or by typing in the key manually (“current_admin_user.google_secret_value”).
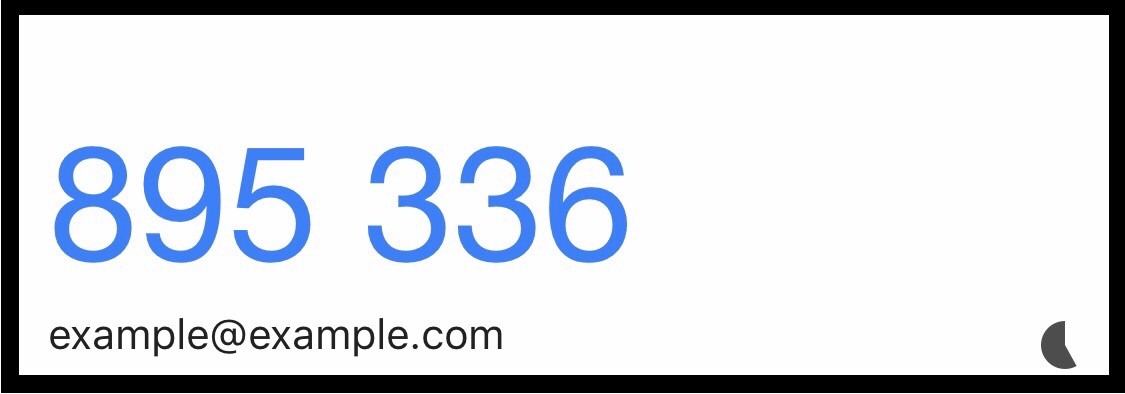
3.) After our AdminUser connects their account to the mobile app they should get to the view rendering their own 6 digit code. The above code is what the AdminUser enters on Log In
4.) Now our AdminUser is ready for using the Google secret. The procedure for authentication is now fairly straightforward:
- First the AdminUser needs to do a standard authentication with their credentials (email/username and password).
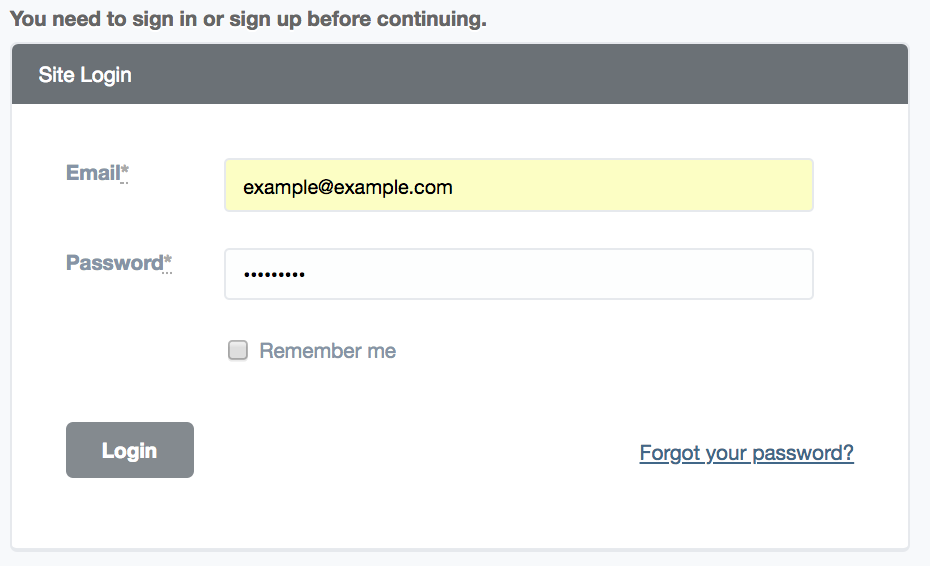
Then the AdminUser will be redirected to the view with the 6-digit input field.
They’ll receive this in their Google Authenticator application and it’ll look something like this.

- Then they’ll enter the code in the input fields like so,
- By clicking on “Log In” they will now be able to make use of the rest of the site after passing Google Authenticator verification (or whatever resources you yourself might have been hiding from them behind 2FA).
Thanks for tuning in, and I hope this was of help to you! If you have any comments and/or questions, shoot!


